Baking Good Bread On Demand
Using the Bread in Five Minutes a Day
Method
Richard Rathe, January 2026 (Books, How_To, Reviews)
I've been a novice bread baker over the years, specifically breads leavened with yeast. I've made bagels and pizza crusts from scratch. I have a pizza stone in my oven and a wooden peel for that purpose. My last big endeavor was using my bread machine to make no knead bread (based on the famous NY Times recipe) with some success. All of this pales by comparison with the Five Minute
approach outlined in the book discussed here.

The Book
I heard about this book from a friend and picked up a used copy about a month ago. It is a remarkable thing—the most complete and effective cookbook
I've ever used. The recipes are rock solid and yet the authors encourage you to improvise. It's more of a baking battle plan with the details and tactics left up to you to work out in your own kitchen. It has a comprehensive index and when you have obscure random questions, it provides answers. Amazing!
Notice the Photographer's credit on the cover. There are gorgeous color photographs of the many types of bread discussed in the book. Inspiration!
The most important step on any journey is the first step of course. One day I just decided to go for it
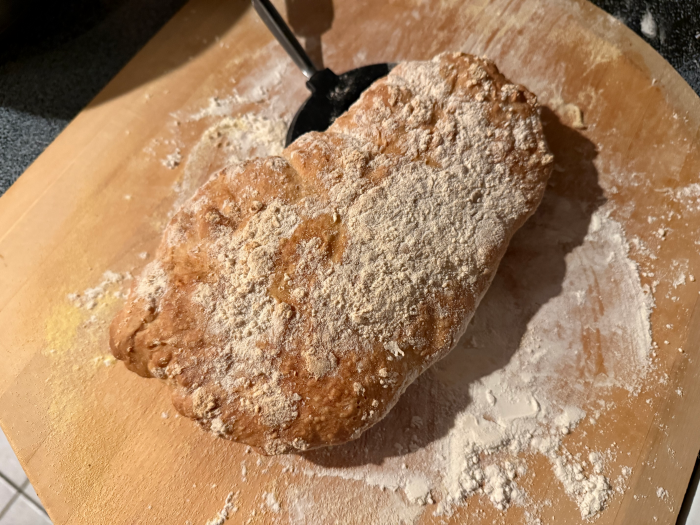
with the ingredients I had on hand. The yeast was old and I only had all-purpose white flour. Then I had trouble handling the very wet dough. It wouldn't come off the peel when I moved it to the oven. It came out looking like bigfoot's footprint. 😉
Then I got some whole wheat flour and tried to use up all the old yeast.
BTW: When it came to eating, all of the above where delicious. 🙂
My Four Thirds
Recipe
In the past I'd make bread and pizza dough with 3 parts whole wheat to 1 part white bread flour. Taking inspiration from my four thirds
camera of all things, I hit upon this mixture…
| Ingredient | Amount |
|---|---|
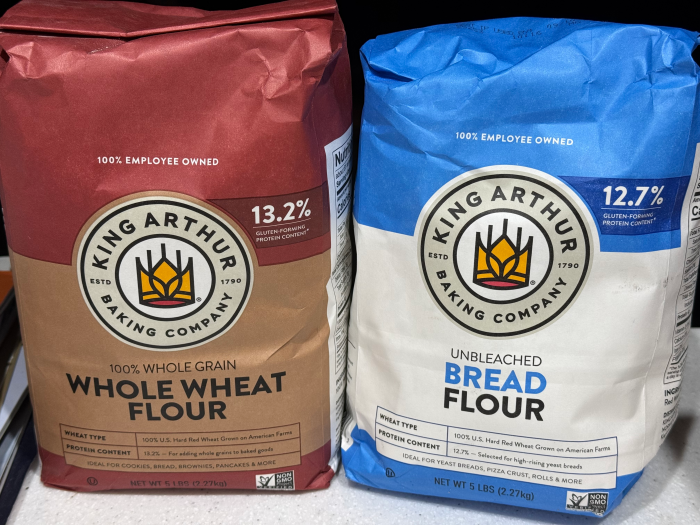
| Whole Wheat Flour | 4 Cups |
| White Bread Flour | 3 Cups |
| Yeast | 1 Tbsp or Packet |
| Salt | 1 Tbsp |
| Water | 3.5-4 Cups |
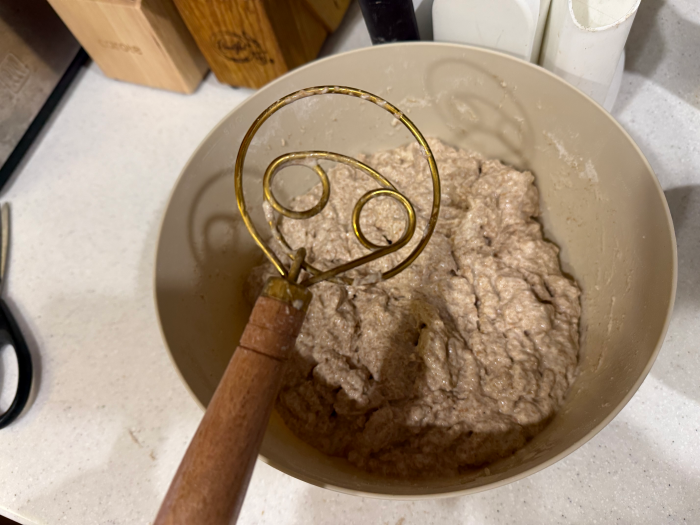
The only trick is getting the amount of water right. You start with 3.5 cups and add more bit by bit until the dough looks right
. Basically it should appear wet
and obviously sag
into the bowl over a few minutes.
Here's the basic plan…
- Mix in a large bowl with a sealable lid
- Heat water to body temp (to coddle your yeast, it is alive after all!)
- Sprinkle in yeast, dissolve salt
- Add all the flour & any other ingredients
- Mix until uniform, adding small amounts of water as needed
- Let rest at room temperature with the lid ajar for about two hours
- Seal the lid & put the whole thing in the fridge
Consider this nice tip from the book: Get a Danish Wisk if you don't have an electric mixer. It handles the wet dough for both mixing and later when you need to get a hunk out to bake.
The whole premise of the book is to pre-make your dough whenever you have time, and then pull out small amounts to bake fresh bread whenever you want it. 🙂
Theme and Variations
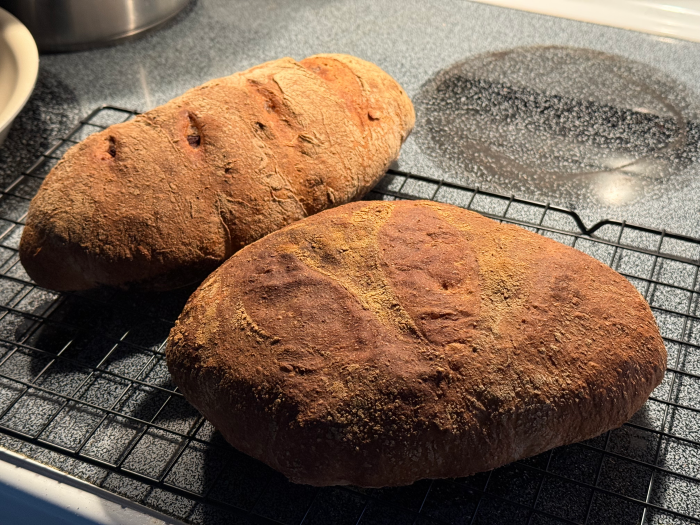
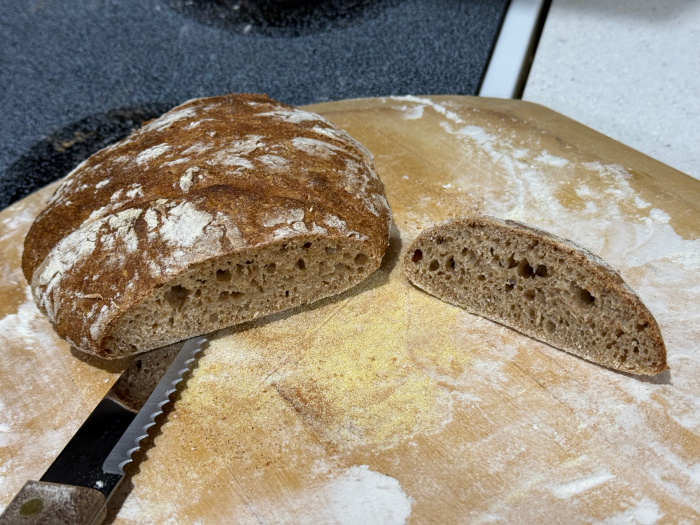
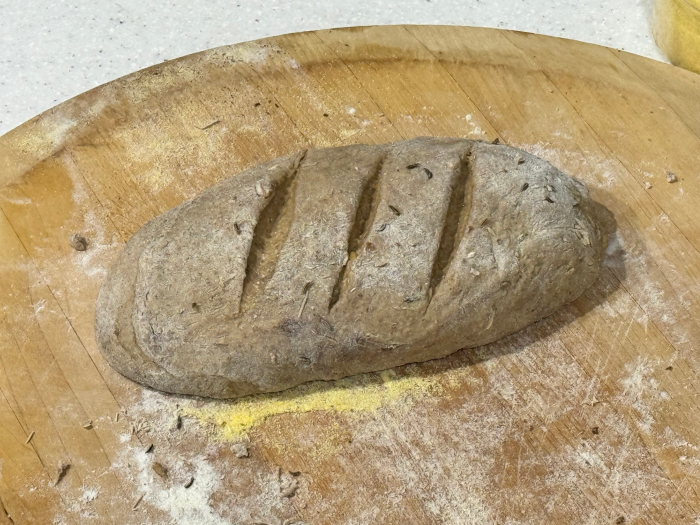
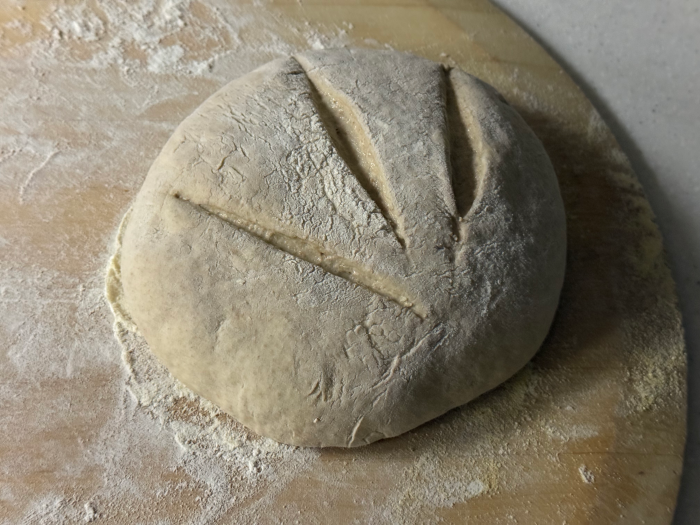
My next attempt was rye bread. The book advises to go easy on the rye flour, just a cup substituted in your master recipe
. Notice the cuts on this loaf. These are not just decorative. They help the bread expand without cracking the crust.
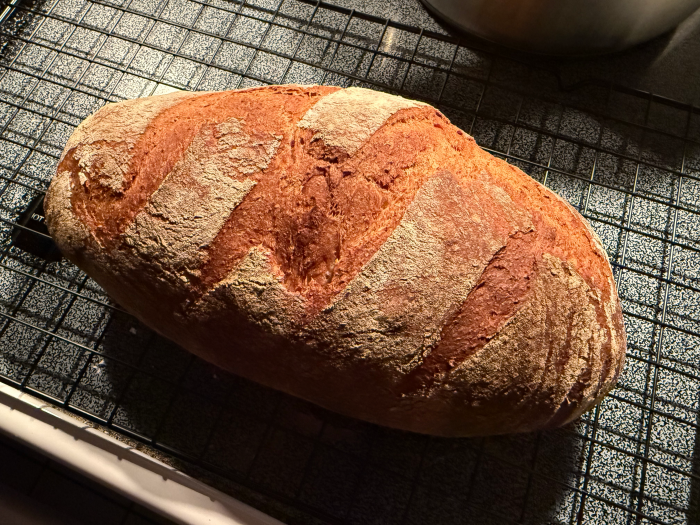
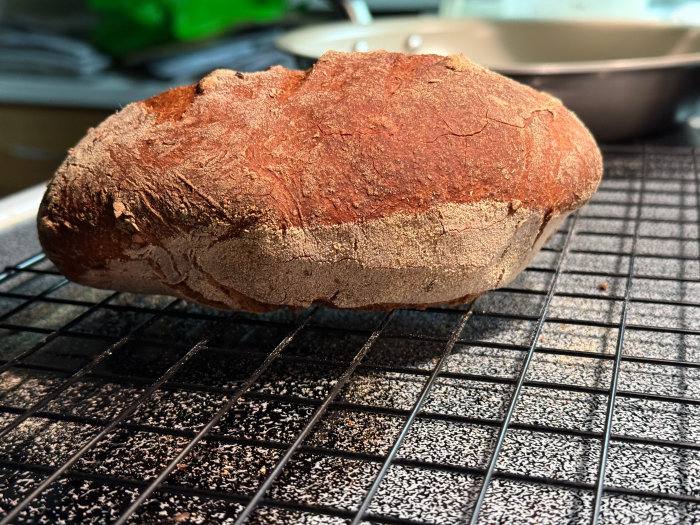
This loaf really took off. I think that may be due to the addition of 2 Tbsp of molasses (along with instant coffee and cocoa to make it pumpernickel). More food for the yeastie-beasties!
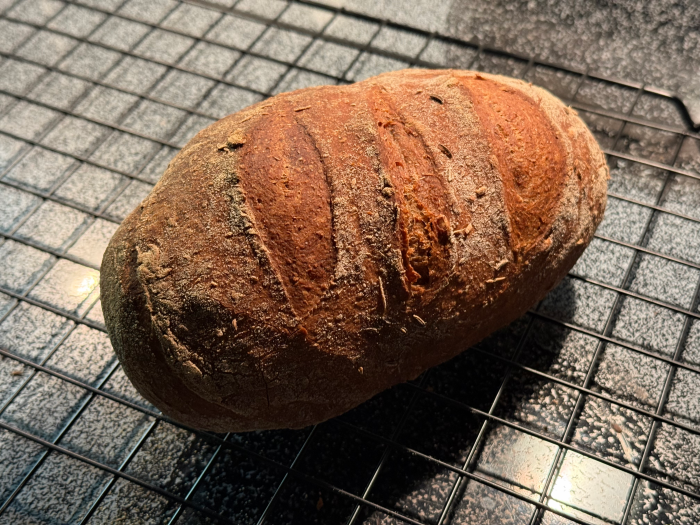
This is very apparent when you look from the side. All that white is where the bread rose so much that it lifted off the stone. This is known as oven spring
.
Another example…
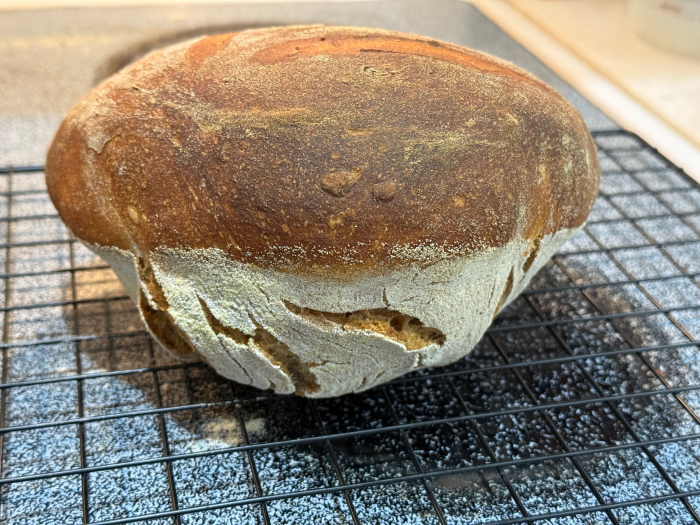
For round loaves I like this bird's foot
pattern. I prefer to keep it simple, but some bakers turn this into an art form. The tool they use is basically a very sharp razor blade on a stick, called a Bread Lame.
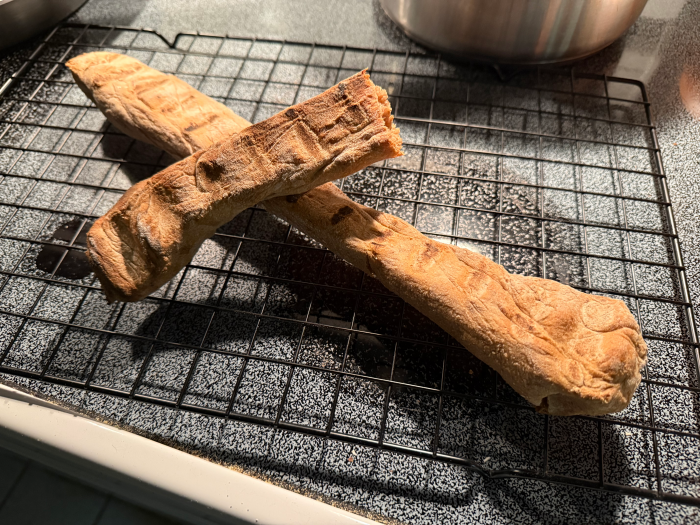
I wondered about making bread on my outdoor grill. The book had answers. They suggest the same arrangement I use for chicken—indirect heat from the sides with the burner directly below turned off. The caveat is not to make the bread too thick. So you are limited to either long skinny breadsticks or flatbread. You should probably turn your loaves over at the half-way mark.
No Wheat (Gluten Free)
I have a friend who has actual celiac disease (gluten allergy) and can't have any of the treats outlined above. Again the book comes to the rescue with a gluten-free master recipe. We tried it out and my friend says it's the best gluten-free bread he's ever had!
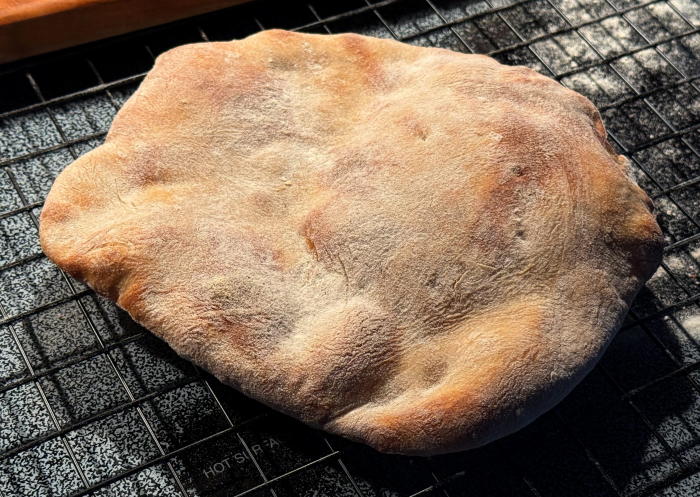
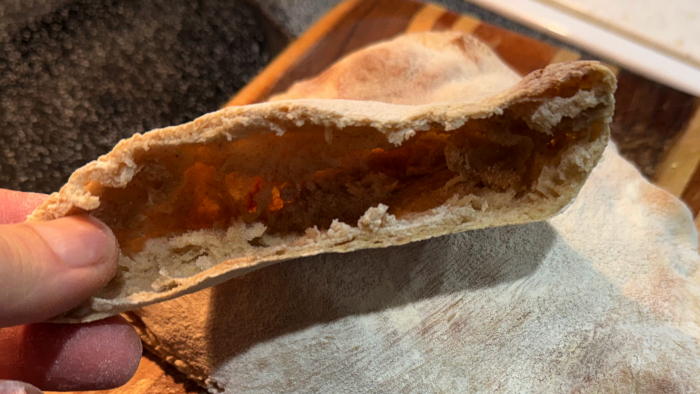
Pita
Next I attempted to make Pita or Pocket
bread. The main difference was heating the oven (and stone) to 500° for 20-30 mintues before baking. I had enough dough left to make two perfect pitas!
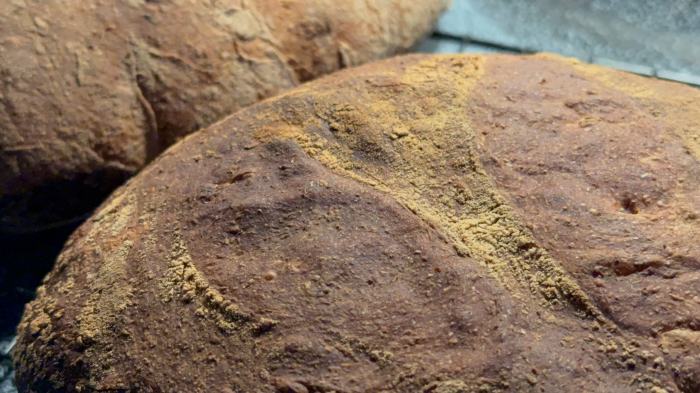
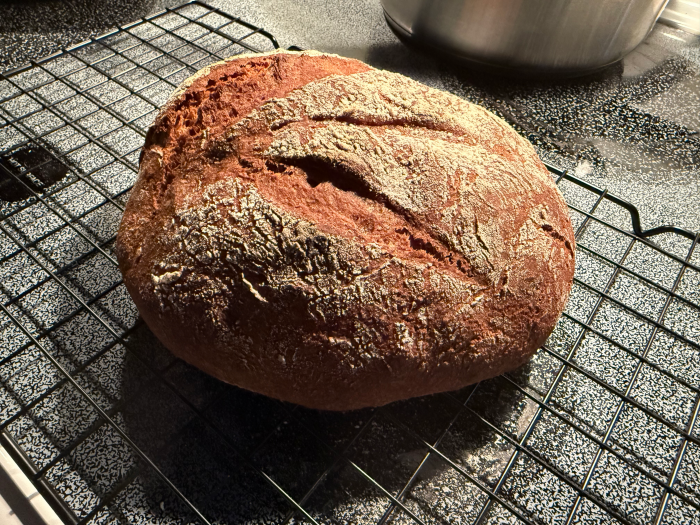
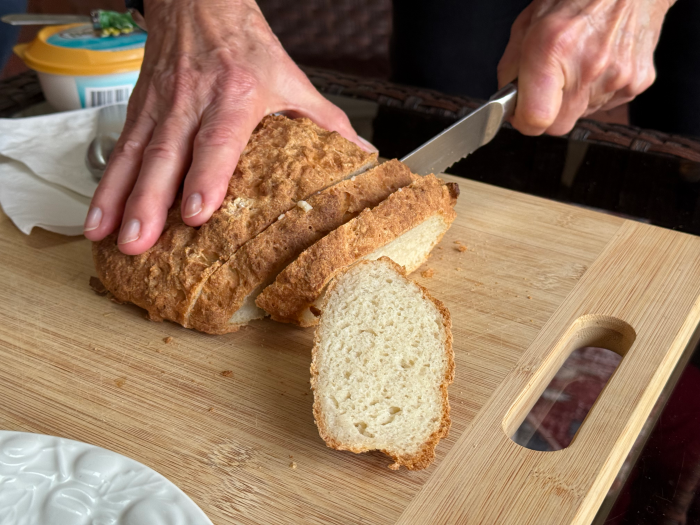
Crusty Loaves
The rest are just pretty pictures of what I've made, ate, and given away over the past month. The key to getting these thick crusts is steam. You can make steam with a cup of hot water added to a hot pan in the bottom of the oven just before you close the door. I'm told that some modern ovens actually have a steam setting for this. If you like softer crusts you can just skip this step.